Welcome to Brian's Automotive Repair,
your car service in Ontario, CA!
If you’re looking for auto repair in Ontario, CA, you’ve found us. Here at Brian's Automotive Repair we work hard to earn your trust and loyalty. We know how important it is to find a Ontario car service you can rely on, so your satisfaction is our top priority each and every day.
Here at Brian's Automotive Repair we understand what makes customer service truly outstanding. You will feel the difference exceptional customer care makes when you work with us. We know auto repair in Ontario offers you lots of choices, and we aim to provide the kind of caring customer service that will bring you back.
Our professional automotive service offers you years of combined expertise from our well-trained technicians. We treat our auto repair professionals well because we value their skill and can-do attitude. We know our team sets us apart, saving you time and money, not to mention worry. When it comes to auto repair in Ontario, we are totally confident that Brian's Automotive Repair is the best option in town!
Address
Brian's Automotive Repair
120 S Plum Ave
Ontario, CA 91761
(909) 391-3800
Shop Hours
Mon-Fri: 8am-5pm
Sat-Sun: Closed
Directions
Payment Types


Affiliates & Certifications



We offer 1 year/12k mile & 2 year/24k mile warranties for AAA customers
About Brian's Automotive Repair Ontario, CA
For years Brian's Automotive Repair has been there for the people of Ontario. We love what we do, and that basic fact fuels our business. We are dedicated to our customers, and that’s why they stick with us—the best auto repair Ontario has to offer.
Our family of technicians and service staff sees their work here at Brian's Automotive Repair as more than a job. It’s their vocation and livelihood. Each member of our team is invested in your satisfaction.
Brian's Automotive Repair was founded on the basic idea that everyone deserves respect. It is our mission to treat each person that comes through our door with dignity and sensitivity. We believe this attention to detail has paid off by providing us with our loyal, friendly family of customers. That’s what makes Brian's Automotive Repair the best car service in Ontario!
Are you ready to experience the best Ontario car service available? Please give us a call or make an appointment here.
The Absolute Best Car Service in Ontario, CA
What sets Brian's Automotive Repair apart from all of the others in Ontario, CA?
Trust: When it comes to auto repair in Ontario, CA, it’s all about earning loyalty and trust by doing our very best every day. We are determined to earn and keep your trust.
Talent: At Brian's Automotive Repair, you can rest easy knowing that our highly-skilled, experienced auto service professionals are handling your car. Our technicians bring years of experience, skill, and education to the Ontario auto repair table.
Time: We take the time we need to provide you with top quality car service in Ontario, CA, and we take the time to talk to you about what that means. We listen to you so we understand your needs and goals for your auto repair.
Recently Serviced Vehicles
-
2016 Mazda CX-5
Mileage86,199Service Date1/10/2025Services Performed- FRONT BRAKES @ __7____MM REMAINING REAR BRAKES @ __5___MM REMAINING
Kim H. gave our service a 5 star review on 1/10/2025 -
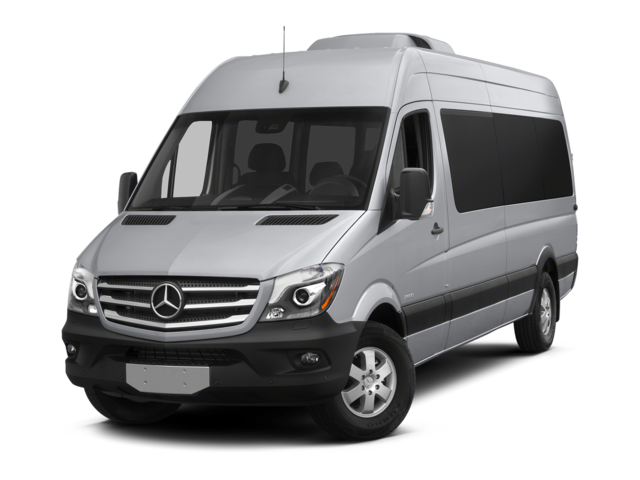
2016 Mercedes-Benz Sprinter 2500
Mileage38,254Service Date1/8/2025Services Performed- The power steering pressure hose is leaking
- Remove and replace the power steering pressure line.
Mark B. gave our service a 5 star review on 1/8/2025 -
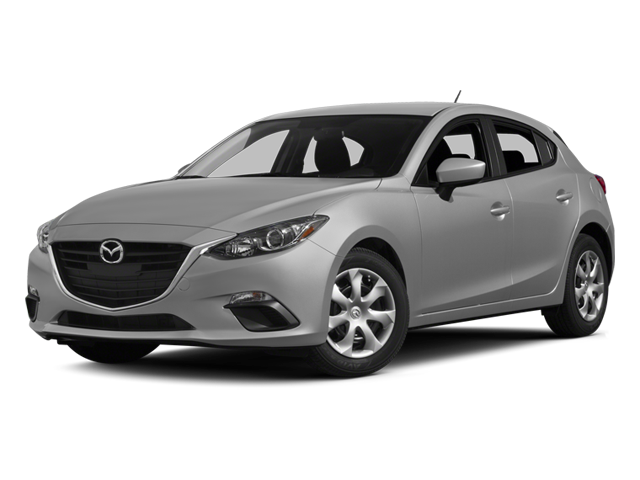
2014 Mazda 3
Mileage181,794Service Date1/3/2025Services Performed- FRONT BRAKES @ __7____MM REMAINING REAR BRAKES @ __8___MM REMAINING
- We confirmed that the a/c was not blowing cold air. We first hooked up our gauges to the a/c system to measure pressures and found there to be no refriderant in the system. With a UV light we inspected the entire system and found no signs of any leaks. We then took our leak detection tool to the system as well, where we found that the lowside shrader valve is leaking. Since the a/c service was already approved we went ahead and changed both low plus high side shrader valves. We then pulled the system into a vacuum where it held perfectly indicating no further leaks were present. We continued with our a/c service and then put our leak detection tool to the previously leaking area after the service was done and found no other leaks. Since the shrader valves are an included part of our a/c service we have no further recommendations in regards to the a/c at this time.
- Service air conditioner. Check condition of all belts and lines. Evacuate and recharge with reclaimed R-134. Test system performance. Note center vent temp Max Cool/High___73______ Connect gauge set and advise of High and Low pressures @ 1500 Rpm. Ambient_______73______High____20_______Low_____0_____ Inspect Belts, hoses, fan clutch, and electric fans if equipped and advise of recommendations.
Ashley M. gave our service a 5 star review on 1/3/2025 -
2022 Ford Escape
Mileage3,295Service Date12/26/2024Services Performed- FRONT BRAKES @ __10____MM REMAINING REAR BRAKES @ __9___MM REMAINING
Oliver R. gave our service a 5 star review on 12/26/2024 -
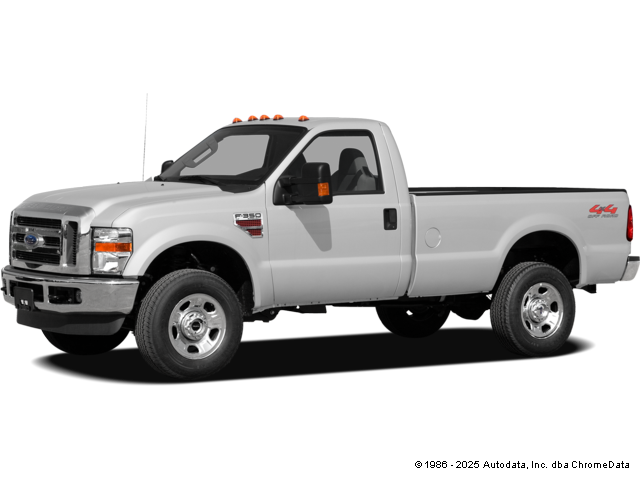
2008 Ford Pickup
Mileage186,774Service Date12/4/2024Services Performed- We visually inspected the underside of the vehicle and found that the oil filter housing gasket is leaking. This is causing oil to run along the pan and down. We recommend replacing the oil filter housing gasket, cleaning up the pan area really well and reinspecting for leaks after.
- OIL FILTER ADAPTOR GASKET – Remove & Replace – F150,RWD,5.4L Eng
Norm H. gave our service a 5 star review on 12/4/2024 -
2011 Lexus RX 350
Mileage91,917Service Date11/25/2024Services Performed- FRONT BRAKES @ __8____MM REMAINING REAR BRAKES @ __7___MM REMAINING Wheel lock placed back into glove box.
Mike N. gave our service a 5 star review on 11/25/2024 -
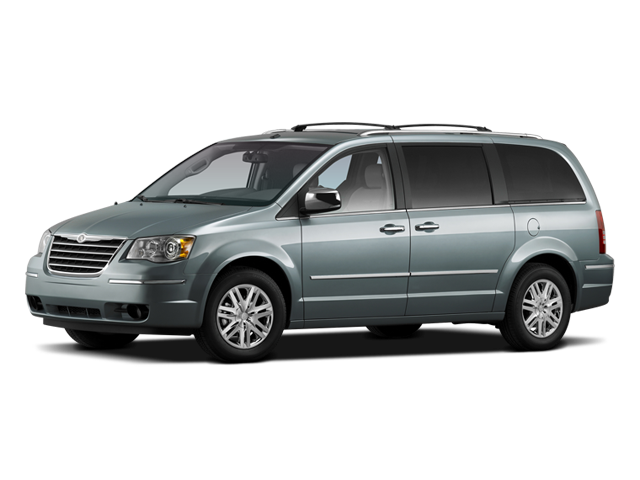
2009 Chrysler Town & Country
Mileage53,362Service Date11/15/2024Services Performed- FRONT BRAKES @ ___11___MM REMAINING REAR BRAKES @ __11___MM REMAINING
- DISC ROTOR – Remove & Replace – Front,Both Sides – [Includes: Replace Pads (if necessary). DOES NOT include refinishing.]
- Replace rear shoes/Pads Install rear hardware, if necessary, machine drums or rotors, and adjust parking brake. Road test vehicle.
- TRANSAXLE OIL PAN GASKET – Remove & Replace – Bottom
- SIDE COVER ON TRANSMISSION – Remove & Replace
- Install panel as required. (Not sure how we will mount yet)
- Replace the Left front marker light, both license plate bulbs, and the third brake light bulb.
Cheryl J. gave our service a 5 star review on 11/15/2024 -
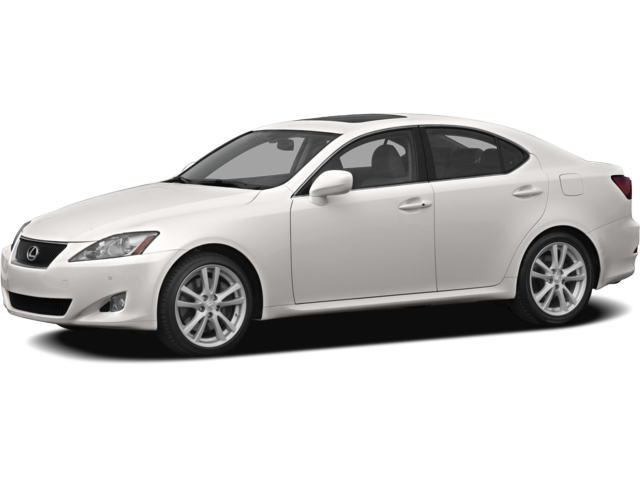
2006 Lexus IS 350
Mileage212,896Service Date10/24/2024Services Performed- We first scanned for codes and confirmed that there is a P0430 catalyst efficiency below threshold. We then put the vehicle up on a rack and checked O2 sensor wiring and condition and found no obvious fault. We also measured the inlet and outlet temperature of the catalytic converter and found that the outlet temperature is below normal. We then test drove the vehicle and monitored live data on the scan tool and found that the catalyst efficiency is poor. Based on these tests it confirms that the catalytic converter on bank 2 is faulty. We recommend replacing the catalytic converter.
Paul L. gave our service a 5 star review on 10/24/2024 -
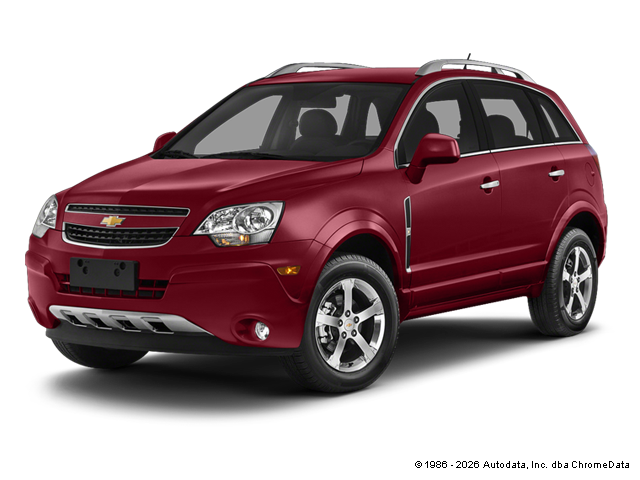
2014 Chevrolet Captiva Sport
Mileage177,682Service Date10/18/2024Services Performed- Scanned for codes, no codes present. Found coolant reservoir empty, filled and pressure tested, holding pressure. Inspected cooling system and found a lot of tracing coming from the water pump, also noticed tracing on a rubber cap on the t-stat housing. Performed a block test and passed. Let vehicle sit with pressure and found the water pump began to leak. Recommend replacing the waterpump with a seal/O-ring kit, t-stat and the rubber cap. NOTE…. hoses are not leaking but appear original. After repair, test drove and no other coolant leaks found.
- THERMOSTAT – Remove & Replace
- WATER PUMP – Remove & Replace
- A rubber cap was installed on the thermostat housing. This is normal but they crack because of the heat. We are going to modify this problem by installing a pipe threader and being abler to secure a metal cap to solve this problem.
- FRONT BRAKES @ __8____MM REMAINING REAR BRAKES @ __6___MM REMAINING
Bob V. gave our service a 5 star review on 10/18/2024 -
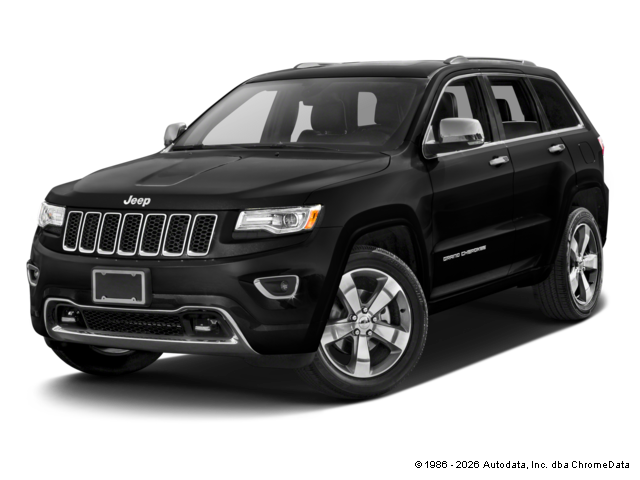
2016 Jeep Grand Cherokee
Mileage101,125Service Date10/4/2024Services Performed- Customer approved a Courtesy Maintenance Inspection
- Confirmed issue of not starting the first time. Scanned vehicle and found codes for the negative battey sensor U0447 implausible data received from central gateway P058c battery monitor module temperature performance P058b battery monitor module current monitoring performance P058d battey monitor module voltage monitoring performance Found the negative battery sensor disconnected ( for the stop start system to be disabled) Tested battey and found it to be okay, a recharge is suggested. Went to check the start stop button. Found it has all required signals, powers and ground required for operation. Noticed when issue happened signal is interrupted or false contact happened coming from the button not allowing engine to start and freaking out the systems causing ac and radio not to fully work. Recommend replacement of engine start/stop push button.
- IGNITION SWITCH – Remove & Replace – Keyless Ignition Node (KIN) – [Includes: Additional time for use of scan tool to perform this procedure.]
- WATER PUMP – Remove & Replace – V6,3.6L Eng
- THERMOSTAT – Remove & Replace – V6,3.6L Eng
Pamela S. gave our service a 5 star review on 10/4/2024 -
2010 Toyota Corolla
Mileage228,855Service Date9/6/2024Services Performed- Tested battery and failed, also noticed negative terminal loose damaged and positive terminal loose and corroded. Tightened the terminals and vehicle starts. Rec replacing the battery MT 35, both terminals with marine style, a throttle body service. Then retest the charging system. After replacing battery and terminals performed a post charging system test and passed, charging 13.8 volts.
- Replace both battery terminals, replace the defective battery and clean all the electrical connections, reassemble and recheck the charging system again.
- By removing the throttle body boot to gain access to the throttle body. The with a chemical, cleaning out the throttle body and wiping clean all debris. Then reassemble as required. Perform a computer relearn learn if necessary.
Gary S. gave our service a 5 star review on 9/6/2024 -
2008 Chevrolet HHR
Mileage268,302Service Date9/5/2024Services Performed- Service air conditioner. Check condition of all belts and lines. Evacuate and recharge with reclaimed R-134. Test system performance. Note center vent temp Max Cool/High____50_____ Connect gauge set and advise of High and Low pressures @ 1500 Rpm. Ambient____100_________High__120_________Low__35________ Inspect Belts, hoses, fan clutch, and electric fans if equipped and advise of recommendations. Turned A/C on and confirmed, does not blow cold. Found the A/C compressor clutch is not cycling on. Checked pressures and they are high enough to cycle the clutch. Checked the A/C relay and is okay, check for power and ground at the compressor clutch and is present. Found no continuity in the compressor clutch. The compressor clutch has failed. Rec replacing the compressor, expansion valve and dryer which is part of the condenser and flush. Then recharge the system and retest.
- A/C COMPRESSOR – Remove & Replace – 2.4L Eng – [DOES NOT include Air Conditioning System recover, evacuate and/or recharge.]
- CONDENSER – Remove & Replace – [DOES NOT include Air Conditioning System recover, evacuate and/or recharge.]
- EVAPORATOR EXPANSION VALVE – Remove & Replace – [DOES NOT include Air Conditioning System recover, evacuate and/or recharge.]
- Removed the passenger side kick panel and placed the water hose on the roof spraying the sun roof and Windshield. Let water run for a few minutes and could not replicate a leak condition. Noticed old water stains on the sun roof door.
- Found the right outer tie rod to spindle nut very loose, as well as both inner tie rod jam nuts. Tightened nuts and rechecked, found both outer tie rods still have play and the sway bar bushing do as well. Rec replacing both outer tie rods and sway bar bushings then alignment.
- TIE ROD &/OR END – Remove & Replace – Outer,Both – [Includes: Adjust toe-in only. NOTE: Deduct .4 if alignment is also performed. NOTE: Manufacturer recommends removal of Rack and Pinion Steering Gear when replacing Inner Tie Rod End(s) on some models. If
- STABILIZER BAR BUSHING – Remove & Replace – At Frame,Both
- Alignment
Bob V. gave our service a 5 star review on 9/5/2024
